The setup and management of Google Ads can be complicated. That is why we have pulled together a simple checklist which will guide you through the best practices for setting up a Google Ads campaign. This will give you the best possible start and easily allowing you to optimise the campaign at a later date.
Turn off “Auto Ad-Suggestions”
Unless you opt out, Google Ads automatically applies suggestions to your account after 14 days. This isn’t great, especially when you’re trying to optimise the account because Google can replace the hard work you’ve carried out with optimising the account.
When you turn off the auto apply feature you will still be alerted with suggestions, however, you’ll have to manually apply them, rather than giving Google the authority to automatically add them.
You can find the option to turn off ad-suggestions by navigating to Settings > Account Settings > Ad suggestions.
Google Search Network only
Many people new to Google Ads tend to set up campaigns on both “Google Search Network” (GSN) and “Google Display Network” (GDN). This is a really big mistake and will most likely waste a lot of budget. It’ll also make the optimisation of the account extremely difficult. 99% of the time, you’ll want to use GSN, which will trigger adverts on Google or Google owned search engines. If you’d like to target GDN, it’s best practice to split out the campaigns.
Start with Manual CPC
With campaigns that have no data, you’ll want to keep the bidding strategy at “Manual CPC”. ONLY when the campaign gains some insight / data, you can consider changing to “Enhanced CPC” or focus on “Clicks, Conversions, etc”. Bidding strategies outside of Manual CPC work best when you have 10 or more conversions in a 30 day period.
Rely heavily on [exact match]
Nowadays, Exact Match tends to be pretty open. For example, targeting the key phrase [Shoes For Men] will now trigger searches for ‘Shoes For A Man’, and ‘Mens Shoe’. We therefore suggest keeping targeting as granular and as tight as possible. You can learn more by reading Googles article on match options.
Add Negative Keywords
Because we no longer have as much control over when our adverts get triggered, you’ll want to add as many negative keywords as possible.
If you have any negative keywords that you’d like to apply across all of your campaigns, you can use the negative keyword list in the shared library. This will help make the management of each individual campaign a little easier.
You can take advantage of this list of negative keywords, which can help give you a head start.
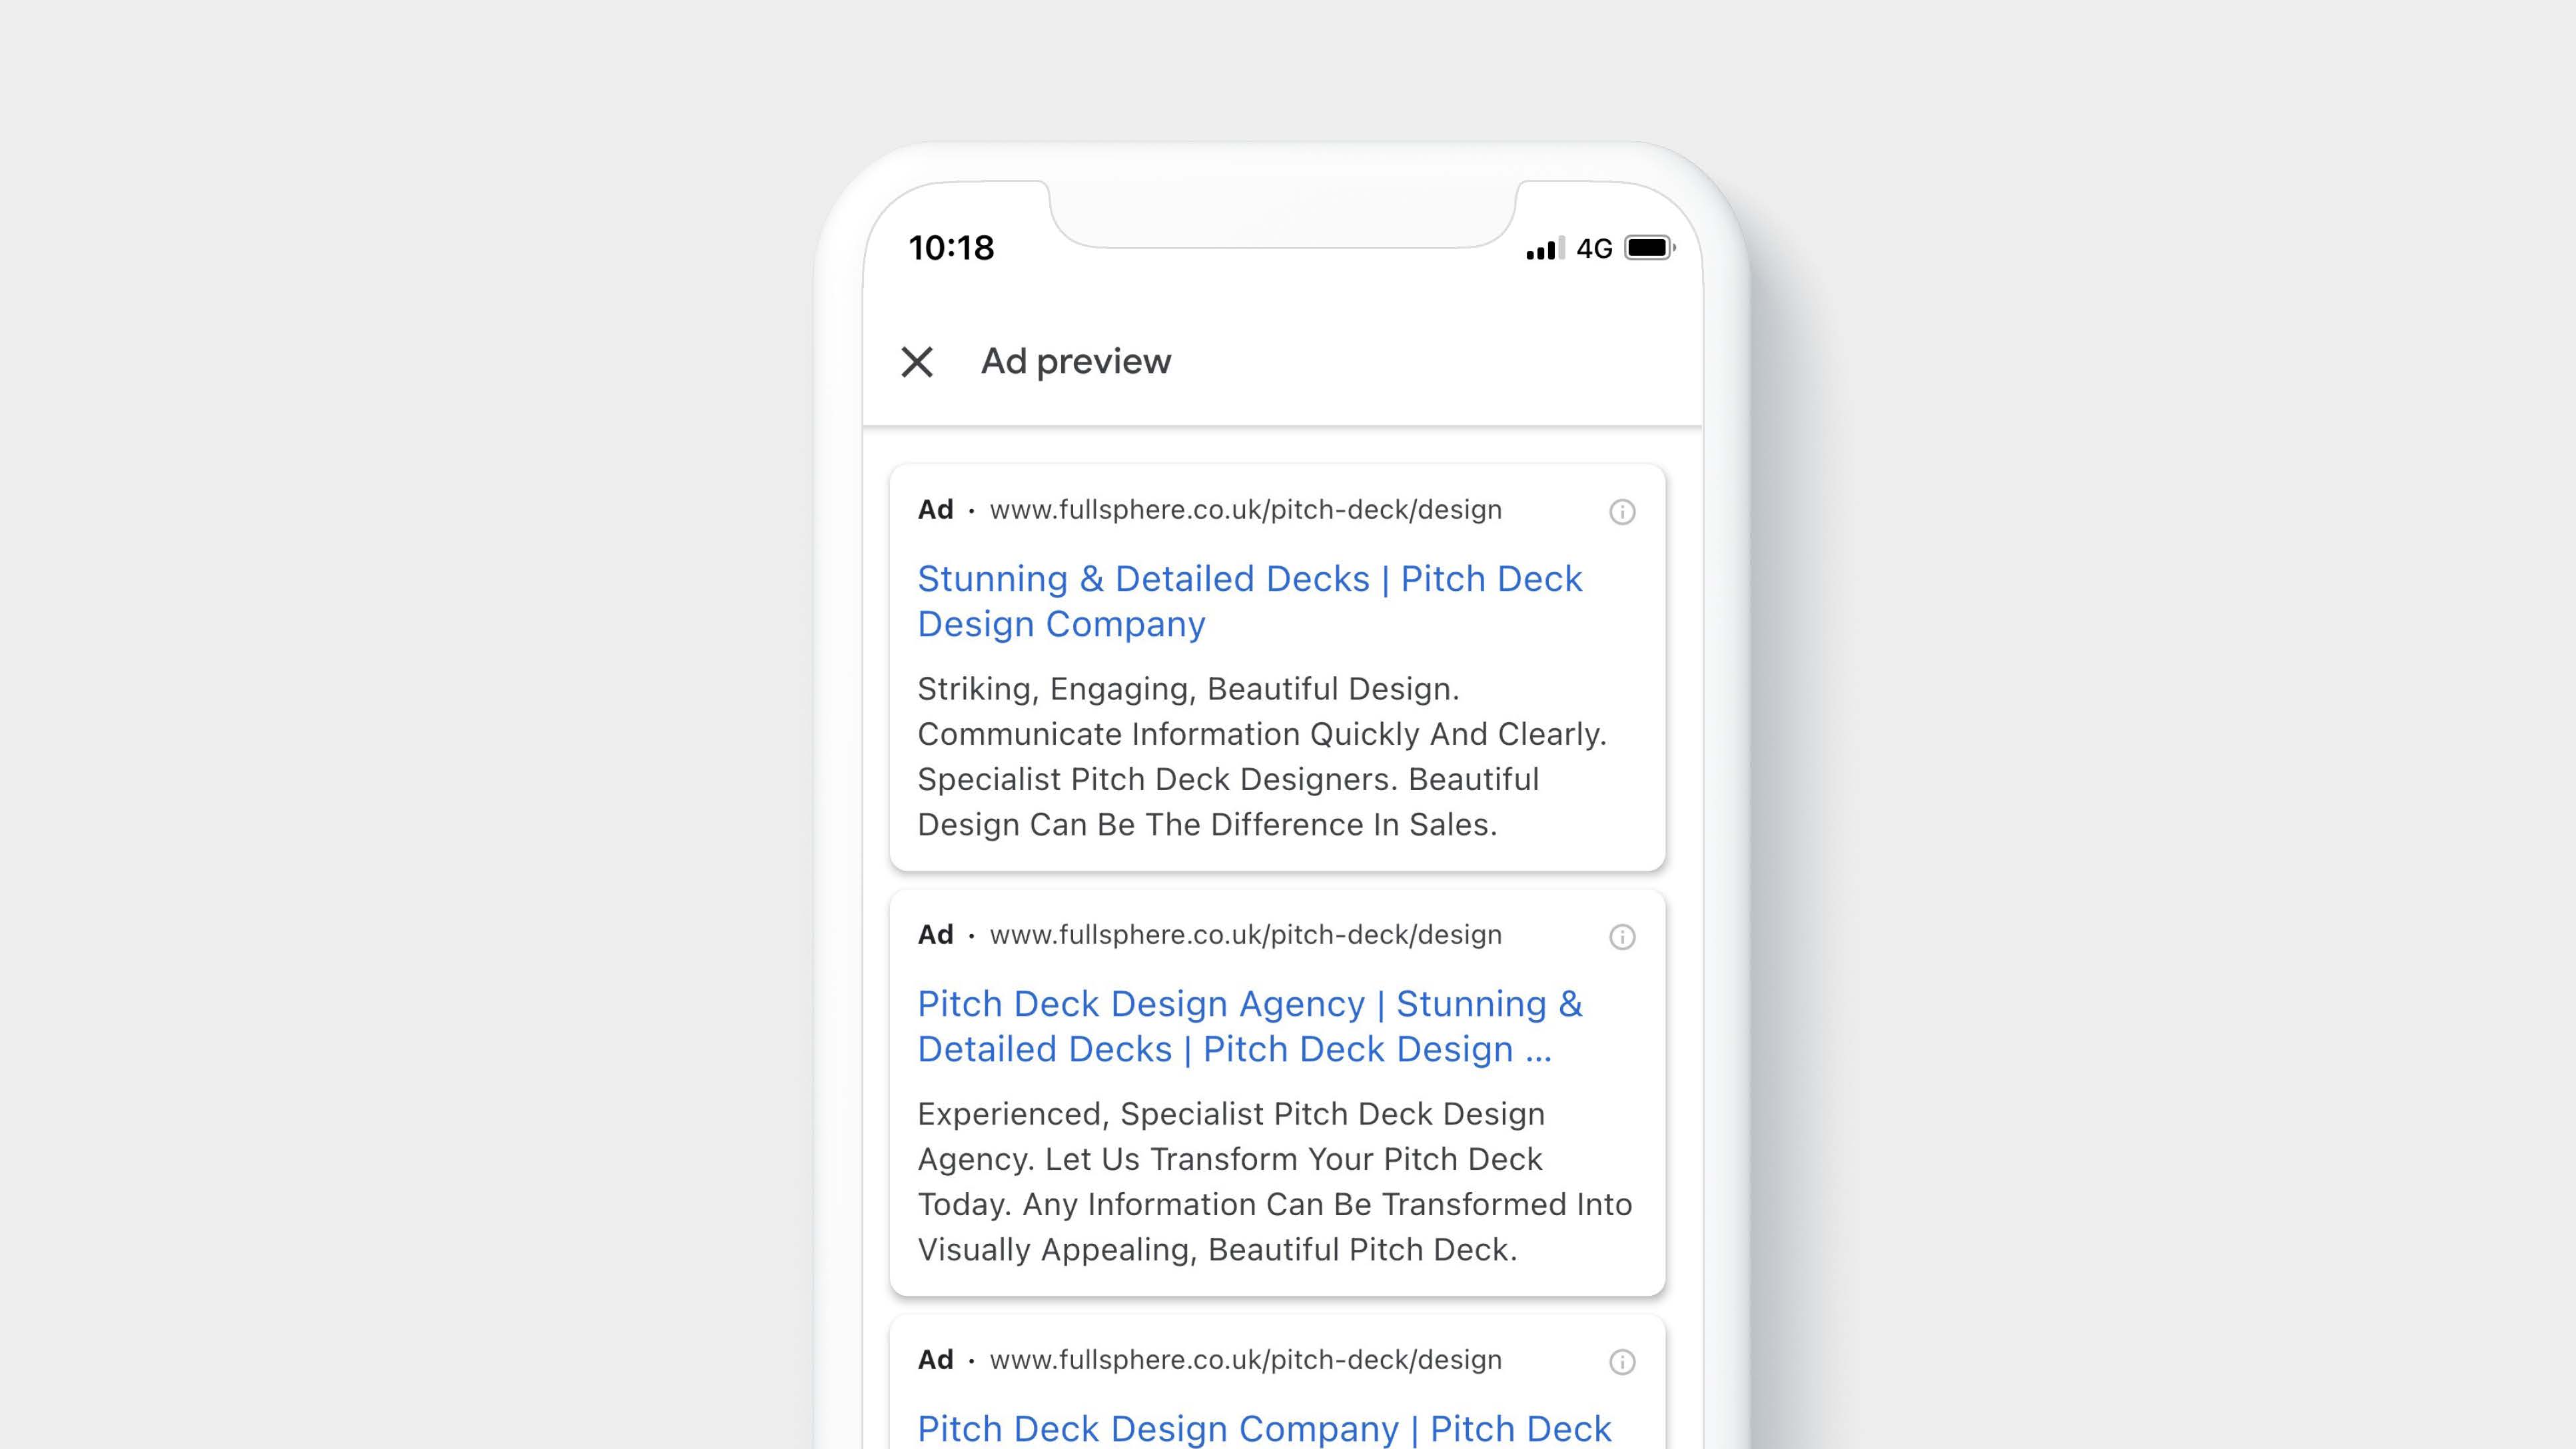
Responsive Text Ads
Responsive text ads are what Google recommends as the main type of advert in a GDN campaign. Try to add 6-8 headlines and around 4 descriptions. It’s important to use a similar copy as what is on the landing page. This will reduce quality score, because your advert will be seen as being more relevant, which in turn reduces your cost per click.
Typically “Capital Formatting” increases click through rate of your adverts, so use capitals on all first letters.
Ad-Extensions
A larger advert takes up more screen space, which increases click through rate. Make use of all the available ad extensions.
Audience Observation
Add 10-20 audiences that are relevant to your campaign. Adding them for “observation” won’t target the users, it’ll just give you valuable insight at a future date when you want to optimise.
It is also worth setting up retargeting under this audience section. We typically recommend bidding 10% / 15% higher on users that have previously visited your website in 14 days, but not converted as a user.
Locations
As well as setting up your location targeting, its also important to exclude all the countries outside of your targeting because Google will still show the ads to users outside of your target location.
Conversion Tracking
Without doubt, the most important bit of the setup! Conversion tracking allows you to really understand which campaigns, ad-groups, keywords and demographics are converting, and not converting. Without conversation tracking setup correctly, you’ll be in the dark and you will not be able to accurately optimise the campaign.
Conversion tracking methods can include:
- Form Fills (Contact forms, callback forms, email captures, etc)
- Phone Calls (Can be tracked with a third party software)
- Sales (Purchases, Subscriptions)
We also recommend setting up UTM tracking as a safeguard. In the event Google Ads doesn’t transfer the campaign data correctly to Google Analytics, Google Analytics can fall back on the UTM tracking.
Here is the code we typically use:
{lpurl}?utm_source=google&utm_medium={ifsearch:cpc}{ifcontent:display}&utm_campaign={_campaign}&utm_term={keyword}&utm_content={_content}
This UTM tracking code can be added to the account level of the account by navigating to: Settings > Account Settings > Tracking.
If you are new to UTM tracking, you can learn more here.
What about optimisation moving forward?
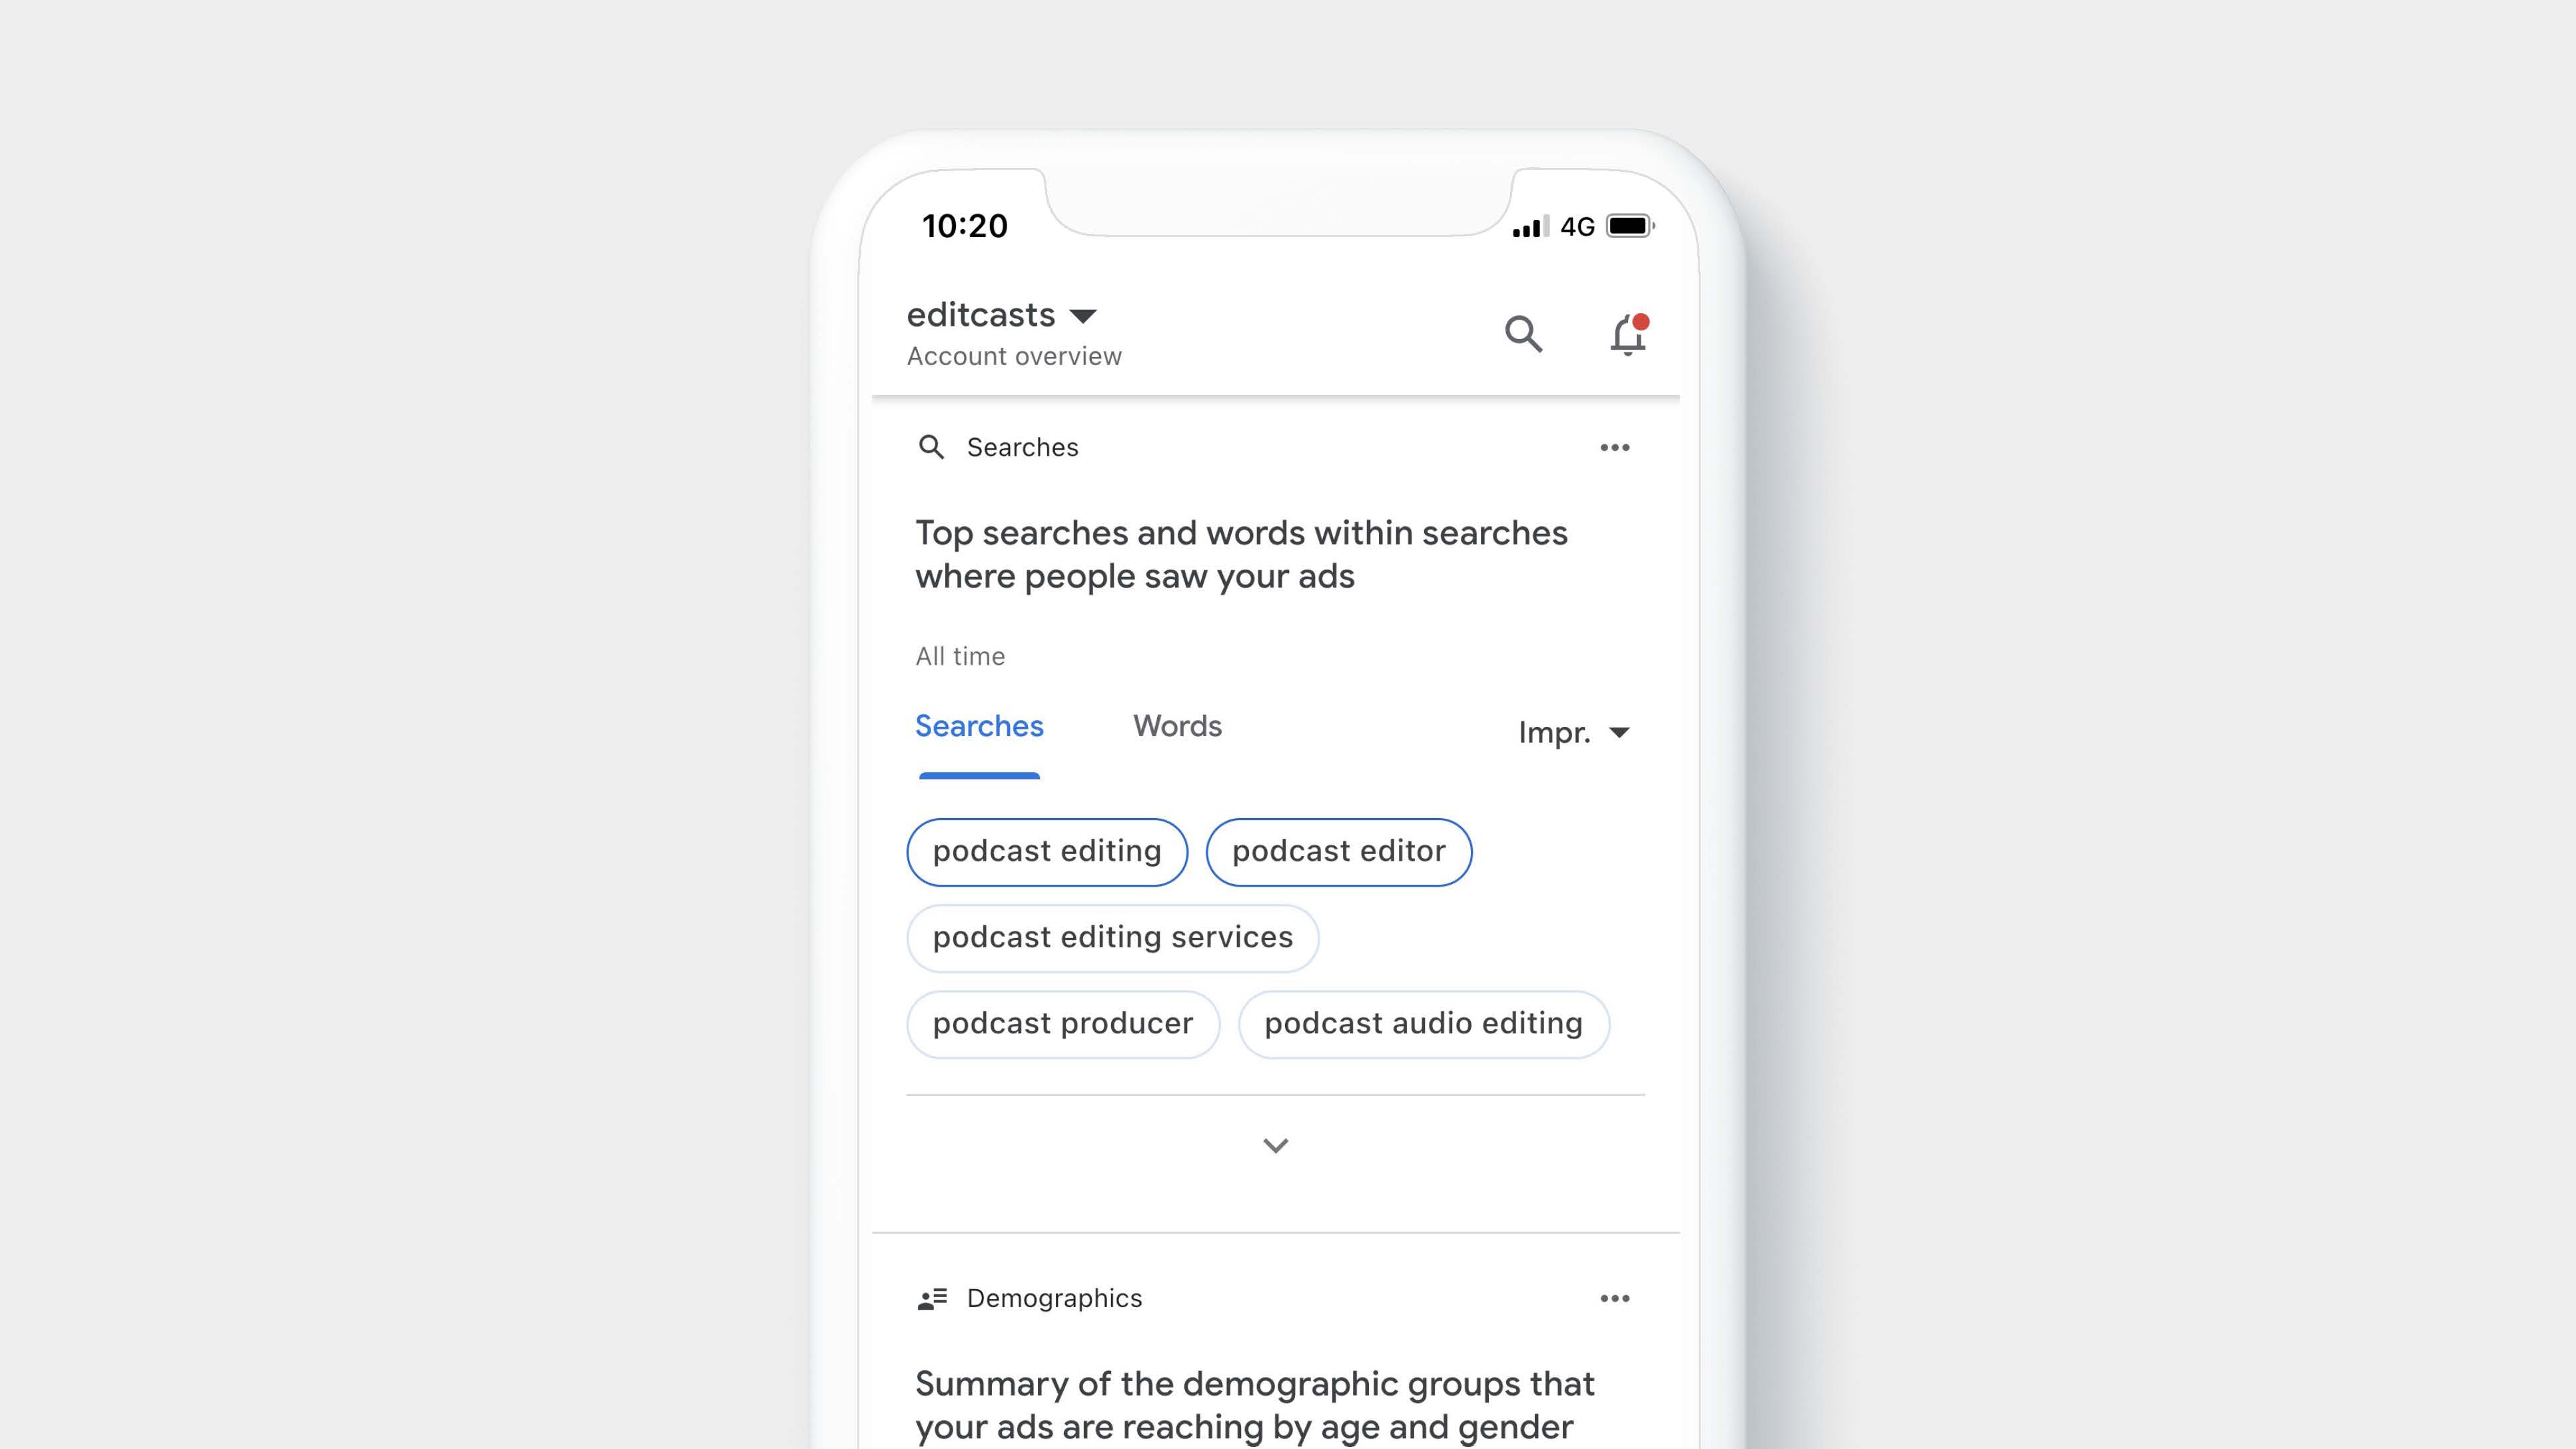
Once the account is live, it is recommended that you check which search terms are being triggered every couple of days. Negative keywords can be added to exclude irrelevant terms.
When making bid adjustments over the account, you’ll want to apply a minimum date range of 30 days. For a broader understanding a larger date range (60 or 90 days) can be used.
If Google Analytics and conversation track has already been set up, the data can also be used to give you further insight into which users are converting on your website. Bid-adjustments can be made for audiences which you know convert/do not convert. You can set up additional audiences to observe if you’re not sure whether they are beneficial to bid-adjust on or not.
There you have it, the full checklist for setting up a new campaign. Remember to keep checking the performance of your campaigns and optimise from clear and concise evidence provided back your conversion tracking.
If you have any questions, feel free to get in touch.